13.2. Adding a new event
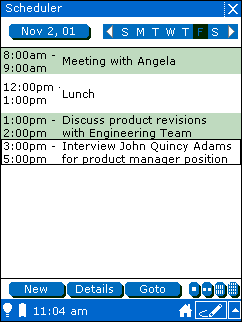
Click the New button.
The Scheduler displays a new blank event.
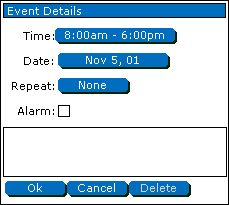
To set the event's time, tap the time field.
You see the Choose Time dialog box.
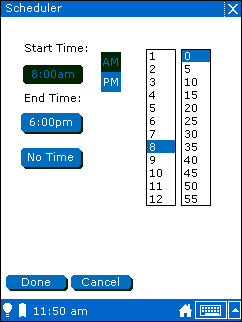
To set the start time, tap the correct hour, minute, and either AM or PM.
To set the stop time, tap the End Time field, then tap the correct hour, minute, and either AM or PM.
You can also set a milestone event with no start or stop times by tapping the No Time button.
When you finish setting the time for this event, tap the Done button.
To set the event's date, tap the Date field.
You see the Choose Date dialog box.
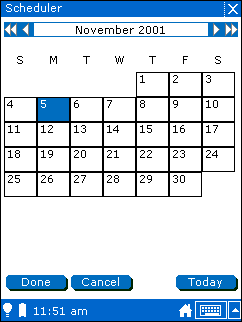
You can change the month and year displayed with the arrow buttons at the top of the dialog box.
After choosing the correct month and year for the event, tap the date for the event.
You can always choose the current day by tapping the Today button.
When you finish setting the date for this event, tap the Done button.
If you want your device to notify you with an alarm when the event starts, check the Alarm box.
Enter a description of the event in the text field.
When you finish entering the event information, tap the Ok button.
The Scheduler application adds the new event to your schedule.